Thursday, July 18, 2013

Easy (no, really) DIY flavoured lip balm

When I'm lucky enough to get to work a quiet evening or night shift, more often than not I find myself lost in the world of Pinterest.
I'm sure many of you can sympathize with me.
 
I was looking up some good DIY projects when I came across something I'd been meaning to try for awhile, really ever since a few Christmases ago my husband's Aunt made me a wonderful kit full of homemade lip balms, heel scrubs, and cold remedies.
 
Lip Balm!
 
I looked up where I could get the ingredients I needed to get started and compiled a list of a few different approaches.
Coconut oil vs. sweet almond oil vs. olive oil, etc.
 
I went to Michael's and could not find the small jar of beeswax pellets.
Thankfully I have some sheets of beeswax from my failed venture into candle making so those worked just fine.
I couldn't find inexpensive coconut oil (or pure shea butter as one recipe recommended) so I ended up using a body butter cream I have that is made of coconut oil & shea butter - best of both worlds.
 
I played around using candy flavouring to see if it would help flavour the balm but no such luck.
One recipe suggested using kool-aid so I did the next best thing and used some Mio.
 
I was expecting to fail quite badly at this the first go round but lo and behold, my first attempt solidified quickly and a trial run proved it stayed really well on my lips and wasn't drying.
 
 
You will need:
 
  • a container (or a few) to keep the lip balm in
  • 3 tbsp of a coconut & shea butter cream (I used this one)
  • 3 tbsp olive oil
  • 3 tsp beeswax
  • Mio (or a similar liquid water flavouring product)

 
Heat the ingredients over low heat and whisk until they are well blended together.
Then squeeze in as much of your flavouring as you want, and pour the mixture into the container and leave it to set!

 
That's it.
Super easy.
 
Next I have to find some cute labels to adhere to the container.
 

Monday, July 15, 2013

Meal Planning Made Easy

I stumbed upon this tumblr called 'Pretty Little Pieces' and fell in love with all of the pictures and printable ideas.
 
This one I thought I'd share, as I'm aways trying to organize my life.


The only downside is that there's only room for 4 meals, then you've got to print out another.
But 4 meals is probably as far in advance as I'd get in terms of planning & shopping.
 
Photo and PDF courtesy of prettylittlepieces.tumblr.com


Tuesday, July 9, 2013

The Happy List: 09/07/13

 
On Sunday I went for a run - the first I've gone for in too long - and I was in such a good mood afterward. I was out in the hot, humid sunshine and came back absolutely drenched in sweat. There is nothing sweeter than hoping into a cool shower after a run like that.
 
I went to the gym yesterday for a run on the treadmill and it put me in a great mood - especially since I was coming off a night shift and getting ready for an evening shift. I had given myself a pass to sleep literally until the moment I had to leave for work but I was up earlier than expected and made my way down to the gym.
 
Add in listening to the steady pounding of the rain last night from the comfort of the quiet nursing station.
 
I got lucky and avoided all of the horrible road closures, TTC delays, and flooding that literally swamped the city last night.
 
But all of these things made me want to keep track of the things that make me happy each day.
I'm generally a positive person but not always when it comes to myself.
So rather than getting bogged down with the negatives I'm working on concentrating on all of the things that make me feel good.
 
Today:
  • Laying in bed for hours after I wake up, watching The Killing
  • Yogurt & Berries and giant mugs of coffee
  • Good music to accompany a good run
  • Snuggles with my cat
  • Pickle in a pouch
  • Dinner and drinks with friends - one who's back from San Francisco for a few days!


Sunday, July 7, 2013

Toronto Wine & Spirits Festival

After our trip to Baldwin Street Burger several Saturdays ago, John and I made a stop at a Portugese bakery for a half dozen delicious lemon custard tarts called natas and then we made our way home to get ready for the Toronto Wine & Spirits Festival.
 
 
This was my first time attending but it certainly won't be my last.
The event was held at Sugar Beach, a man made beach with white sand right by Lake Ontario and with a great view of the city.
 
 
Upon entrance you get your wristband, a sample cup, and 5 tickets to use for sampling. Some were 1 ticket and some were 2. We didn't venture to try anything more than 2 tickets.
Availble to sample were a ton of wines, ciders, beer,  a scotch & cigar lounge, ribs and prawns, cesaers and vodkas, there was free applewood smoked cheddar and parmesan cheeses, and live entertainment.
 
John and I used some of our last tickets to try bone marrow croquettes.
I was excited to try a new food but I was told that the bone marrow was incorporated into the bread so I couldn't make out it's flavour.

 
This event runs for a weekend and it is well worth checking out the next time it comes around.
Be smart and buy your tickets early! You save almost $10 - ten extra bucks which can be spent on more sample tickets!
 

Saturday, July 6, 2013

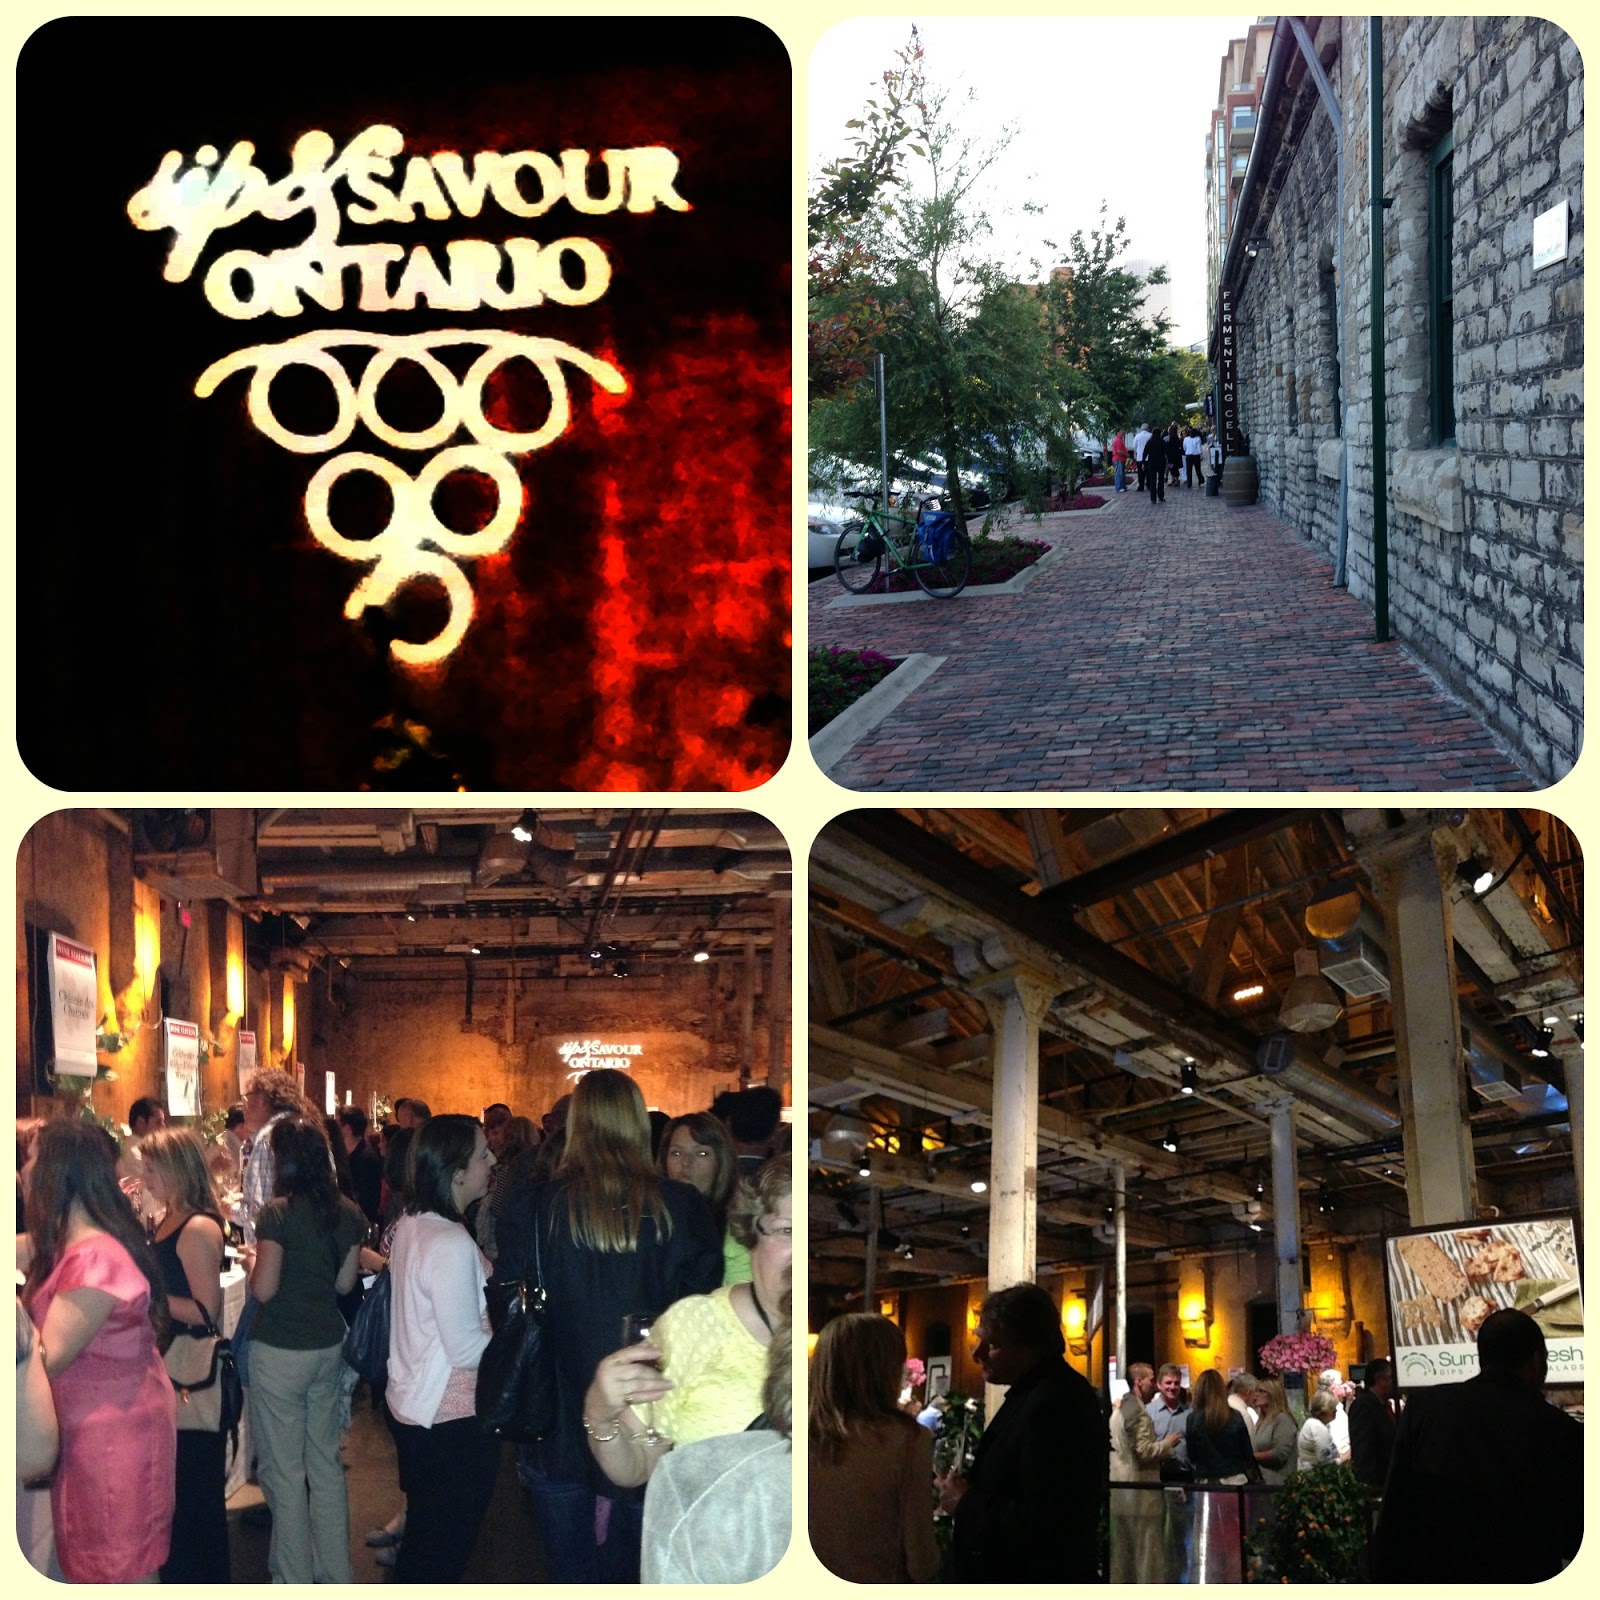
Sip & Savour Ontario

Back (way way back) in June, John and I went to the Sip & Savour event in the Distillery district.
Having never attended this event before, I was unsure what to expect but was very excited at the prospect of eating amazing foods and sampling tons of wines.
 
And sample wines we did!
Here's a list of the participating wineries - HERE - and I can proudly (?) say that we almost sampled wine from every single one.
Almost.
I think my last glass was around Kacaba... I tried another white after a stop at that booth and then promptly shattered my wine glass.
 
And then cut myself off.
 
 
The Distillery District in Toronto is absolutely beautiful to walk through and there's usually an event of some kind going on most weekends.
Here's the calendar of events for the rest of this month.
 
Cheese was featured quite prominently (much to my liking) and we sauntered in to a presentation on cooking with cheese - wisely suggested to use by the food guru herself, Ginger Rose.
 
I don't have the information that they gave us with me so I can't tell you what types of cheese we sampled.
I can tell you they were delicious and the servers also topped up our glasses with pairing wines.

 
The food was delicious.
My hands down favourite was the duck confit crepes, shown below.

 
There was a good deal of seafood up for sampling too which John dug into.
He was fortunate enough to grab the last of the halibut sandwiches.

 
We also grabbed plates which were promptly filled with freshly baked bread, cheeses including cheddar and a feta & watermelon salad, then spicy peppers, pickled beans, and jams like cherry chocolate and plum.
I went back for a second plate of this.

 
I forgot to take a picture (truth: I did take a picture but the picture is of the deserts I had put in my purse to take home) of the amazing mouses that were offered. They had raspberry and triple chocolate among a few others.
 
Also very tasty were the choux pastries from Popelin.
They had blueberry, lemon, and ice wine flavours. All 3 were to die for but the lemon might have been my favourite.
This was also where I broke my wine glass, trying to set it on a non-ledge so I could fill my grubby little hands with pastries.

 
Me, esentially:
 
 
All in all, it was a fantastic night that I would highly recommend checking out. Tickets run a bit on the pricey side but you certainly fill your tummy with wonderful foods and it's an opportunity to get drunk in the classiest of fashions.
 
 Plus the Distillery District is just beautiful.


Sunday, June 23, 2013

Baldwin Street Burger

Sorry I'm so terrible at posting through out the week.
It's habit I'm working on breaking.
 
Last weekend John and I went for a drive to Brooklin Ontario to try the burgers at a place called Baldwin Street Burger that John and his work crew frequent when they're working in the area.
 
 
This day trip also fit in perfectly with my quest to find the best burger in the city (and surrounding areas)

 
The place is small and doesn't necessarily stand out on the street. Just a few signs to let you know who and where they are.
Inside is beautiful - large wooden tables and menus on chalkboards on the walls.
 
They even serve your food on thick cutting boards.
Very cute.

 
John got the steak burger with a side of mac & cheese.
The mac & cheese is creamy and extra cheese is melted overtop.
It's really good and very filling, which is why we opted for the 3 oz burgers (aka the kids burger) instead of the 6 oz patties.
 
I can't pull up the website on the computer so I can't give you an exact run down on what was on the burger but there was cheese and bacon and those delicious crispy fried onions.

 
I went with the Cesaer burger - lettuce, tomato, parmesan cheese, pepper, and bacon among other things. I also opted for a split order of fries and deep fried pickles as my side.
Very good.

 
While I don't know that this will break my top 3 for best burger ever, I highly recommend checking this place out if you're in the area.
They have a few burger options that I still want to try.
 
If you can view it check out the website (and hopefully the menu) here!


Wednesday, June 19, 2013

Cinnamon Buns like you've never had them before

While browsing through the copious amounts of delicious recipes on Pinterest one night, I came across this one recipe that sounded too good to be true.
It also combines two of John's favourite things so I knew I would have to try out this recipe at some point, and probably sooner rather than later.
So last week I did it.
And it did not disappoint!
 
I tried to post this last week but my computer kept refusing to save my drafts so eventually I just got angry and stopped trying.
 
But here it is, in all of it's glory.


Ingredients

  • 1 box Rainbow Chip Cake Mix (powder mix only)
  • 2 pkg. active dry yeast
  • 2 1/2 cups warm water
  • 1 tsp. salt
  • 1 tsp. vanilla
  • 5 cups bread flour
 
FILLING
  • 1/2 cup butter softened
  • 1 cup brown sugar packed
  • 1 cup yellow cake mix
  • cinnamon
  • sprinkles
FROSTING
  • 1/4 cup butter softened
  • 3 cups powdered sugar
  • 1/2 cup yellow cake mix
  • 1 tsp. vanilla
  • 3-6 Tbsp. milk
  • sprinkles

Instructions

  1. In a large liquid measuring cup, measure out 2 1/2 cups warm water. Almost to hot to touch but not scorching. Pour in the 2 packets of active dry yeast and let it activate and foam up. (you could just pour the measured water into a bowl as well, I just find this easiest)
  2. Once yeast is active pour into bowl of a stand mixer. Add rainbow chip cake mix, salt, vanilla and bread flour. Use dough hook attachment to knead dough together, just for a minute or two.
  3. Spray a large bowl with cooking spray and place dough inside. Cover with saran wrap. Let sit for an hour until doubled in size. Punch dough down with fists and cover again and let rise for an additional hour until double in size.

 
4. Once dough has gone through its second rise, remove and placed on a clean floured surface. Roll out into a large rectangle shape.

 
5. Smear softened butter over top. Next evenly sprinkle, distribute and rub brown sugar over top. Then sprinkle yellow cake mix evenly over top of that. Rub gently to evenly cover if needed. Next sprinkle with desired about of cinnamon and sprinkles.


6. On one of the long sides, roll up to make a long and skinny log. Slice into even rolls. It should yield 24-29 rolls depending on how thick you slice them.
7. Place in a greased 9x13 baking pan, 12 rolls per pan.


8. Cover with plastic wrap and let cinnamon rolls rise a final time in the pan, about 30 minutes, or until they have doubled in size.

9. Bake at 350 for 15-20 minutes.
10. While cinnamon rolls are baking, make the cake batter frosting. In a large bowl, beat butter, powdered sugar, cake mix, vanilla and milk. Add more powdered sugar/milk until desired consistency is reached. Add in as many sprinkles as desired.

 
11. Spread frosting over warm rolls. Sprinkle with additional sprinkles if desired.

 
If you love deserts, if you love cake, if you love the texture of cinnamon buns, and if you love ooey-gooey icing, than you need to try this recipe.
 
And if you haven't already joined the Pinterest craze I highly recommend you do!